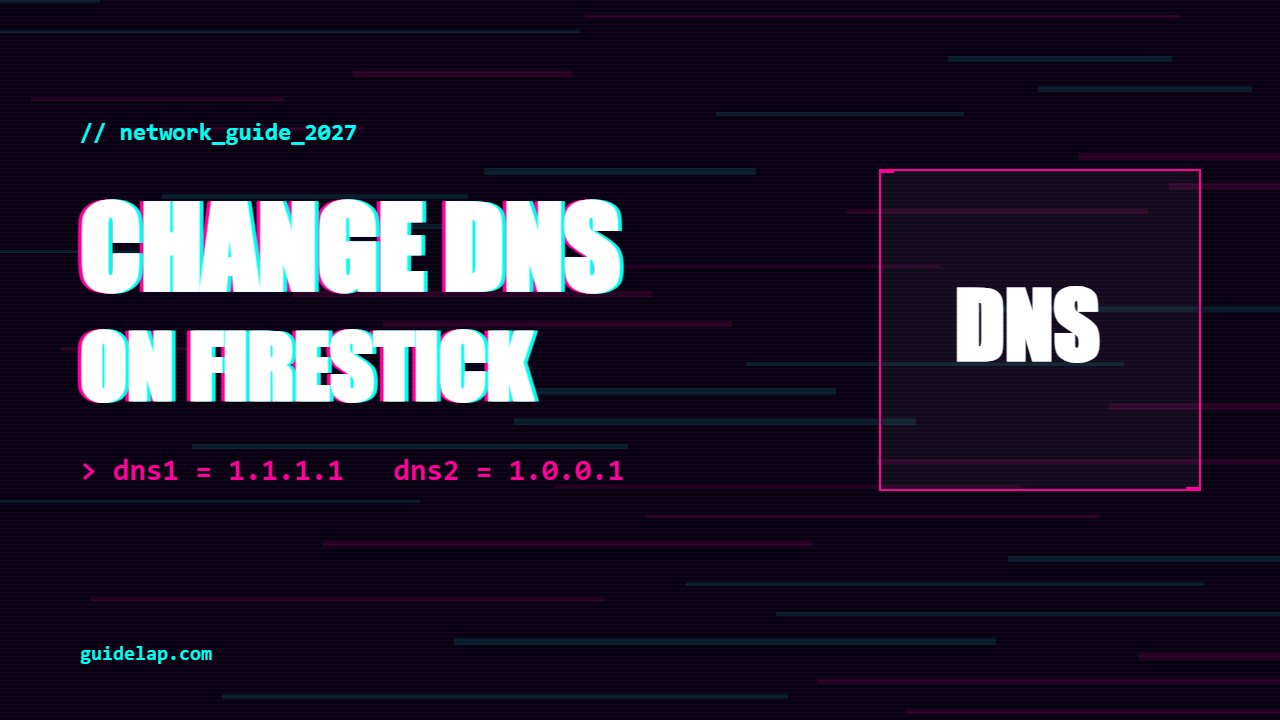
Slow page loads, apps that will not connect, or you simply want a faster and more private DNS? This guide shows how to change DNS on Firestick step by step, which free DNS servers to use, and how to undo it if something stops working.
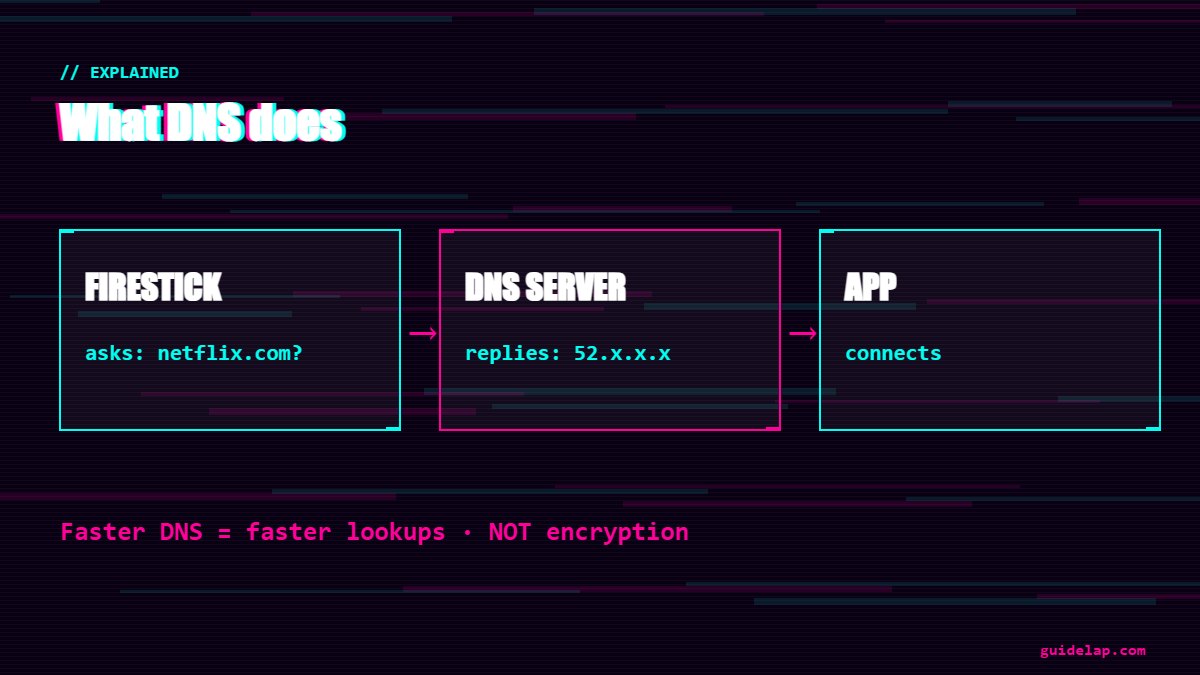
Changing DNS can speed up name lookups and add basic filtering, but it does not encrypt your traffic like a VPN. For full privacy, use a VPN.
Best free DNS servers for Firestick
| Provider | DNS 1 | DNS 2 | Good for |
|---|---|---|---|
| Cloudflare | 1.1.1.1 | 1.0.0.1 | Speed and privacy |
| Google Public DNS | 8.8.8.8 | 8.8.4.4 | Reliability |
| Quad9 | 9.9.9.9 | 149.112.112.112 | Blocking malicious sites |
| Cloudflare for Families | 1.1.1.3 | 1.0.0.3 | Blocking malware and adult content |
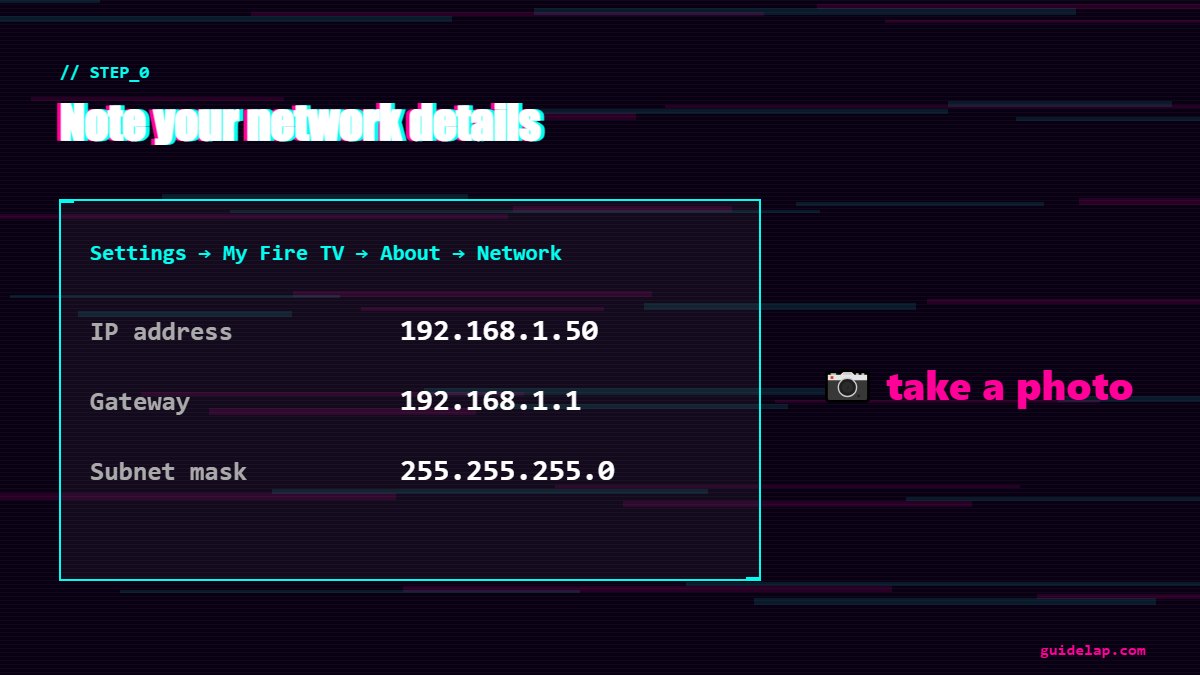
Before you start: note your network details
Go to Settings → My Fire TV → About → Network and take a photo of the screen. You need the IP address, Gateway (your router IP, often 192.168.1.1) and Subnet mask. This also lets you restore the original settings later.
How to change DNS on Firestick (Wi-Fi)
- Go to Settings → Network.
- Highlight your Wi-Fi network and press the Menu (☰) button → Forget.
- Select the same network again and type the Wi-Fi password.
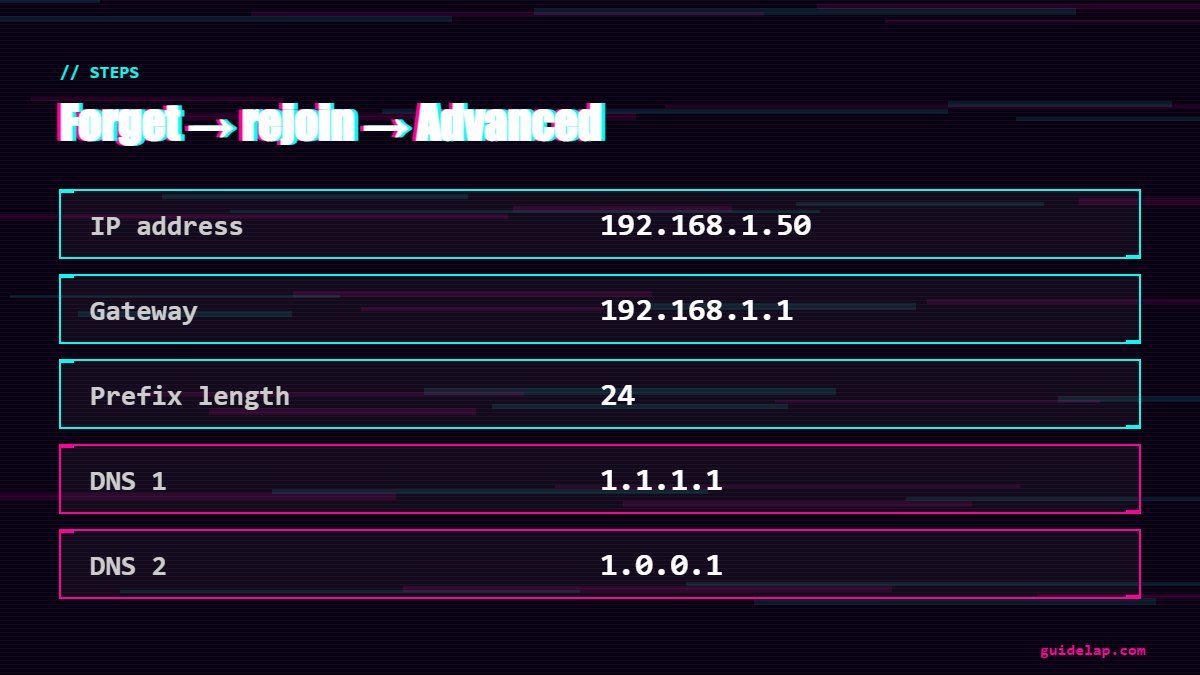
- Instead of Connect, select Advanced.
- IP address: enter the IP you noted (for example 192.168.1.50).
- Gateway: enter your router IP (for example 192.168.1.1).
- Network prefix length: enter
24(for a 255.255.255.0 subnet mask). - DNS 1: for example
1.1.1.1. DNS 2:1.0.0.1. - Select Connect.
These steps match the method described by AFTVnews and DNS providers’ Fire TV guides.
How to check that the new DNS works
- Open the Silk browser or Firefox and visit a DNS leak test site — it shows which DNS server you are using.
- If apps stop connecting, check the IP and gateway for typos.
- If the change seems ignored, your router may use IPv6 DNS — change DNS on the router instead.
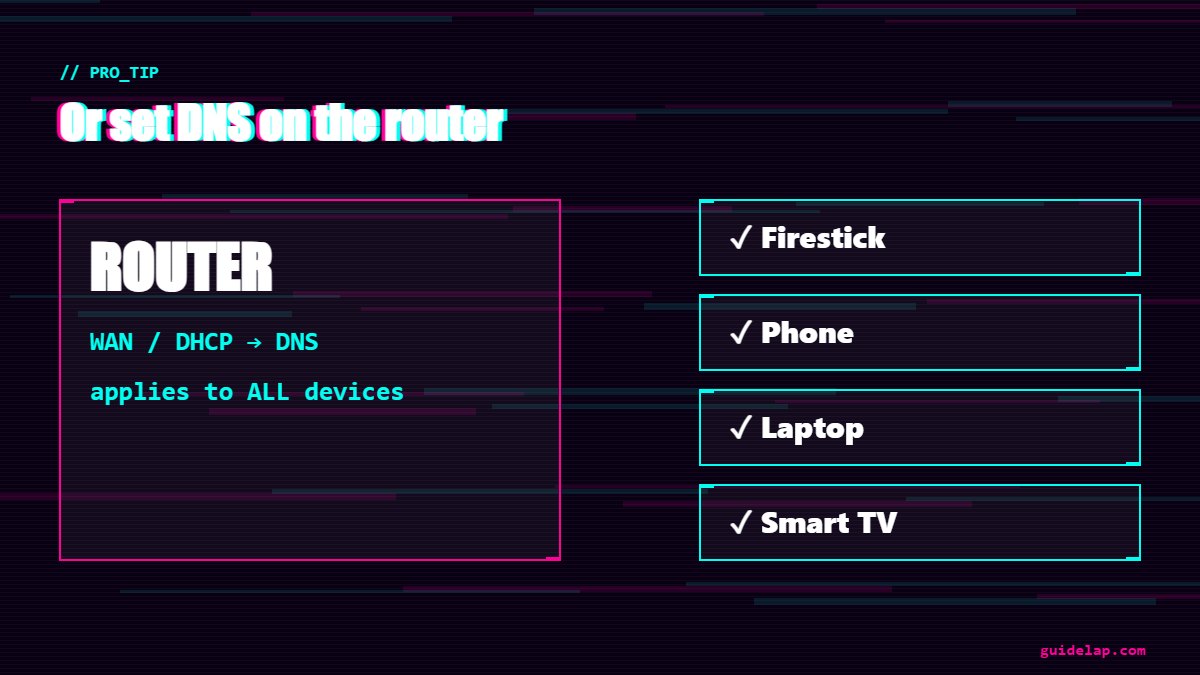
Easier option: change DNS on your router
Changing DNS in the router settings applies it to every device at once and avoids static IP mistakes. Look for DNS under WAN/Internet or LAN/DHCP settings in your router app. Upgrading? See the best router for streaming.
How to undo the DNS change
Go to Settings → Network, forget the network, select it again and simply choose Connect (not Advanced). The Firestick goes back to automatic settings (DHCP).
Connection still slow? Read Firestick not connecting to WiFi, internet speed for IPTV and speed up a slow Firestick.
Frequently asked questions
How do I change DNS on Firestick?
Forget your Wi-Fi network, select it again, enter the password, choose Advanced, then enter IP address, gateway, prefix length 24 and your DNS 1 and DNS 2.
What is the best DNS for Firestick?
Cloudflare (1.1.1.1 / 1.0.0.1) for speed and privacy, Google (8.8.8.8 / 8.8.4.4) for reliability, or Quad9 (9.9.9.9) for security filtering.
Does changing DNS make Firestick faster?
It can make websites and apps connect faster, but it does not increase your internet bandwidth.
Is changing DNS the same as using a VPN?
No. DNS only changes how names are looked up. A VPN encrypts all your traffic and hides it from your provider.
How do I reset DNS on Firestick?
Forget the Wi-Fi network and reconnect normally without selecting Advanced.
Final thoughts
To change DNS on Firestick, forget your network, reconnect with Advanced, and enter a static IP, gateway, prefix 24 and a public DNS like 1.1.1.1. If you want the same DNS on every device, set it on your router instead.