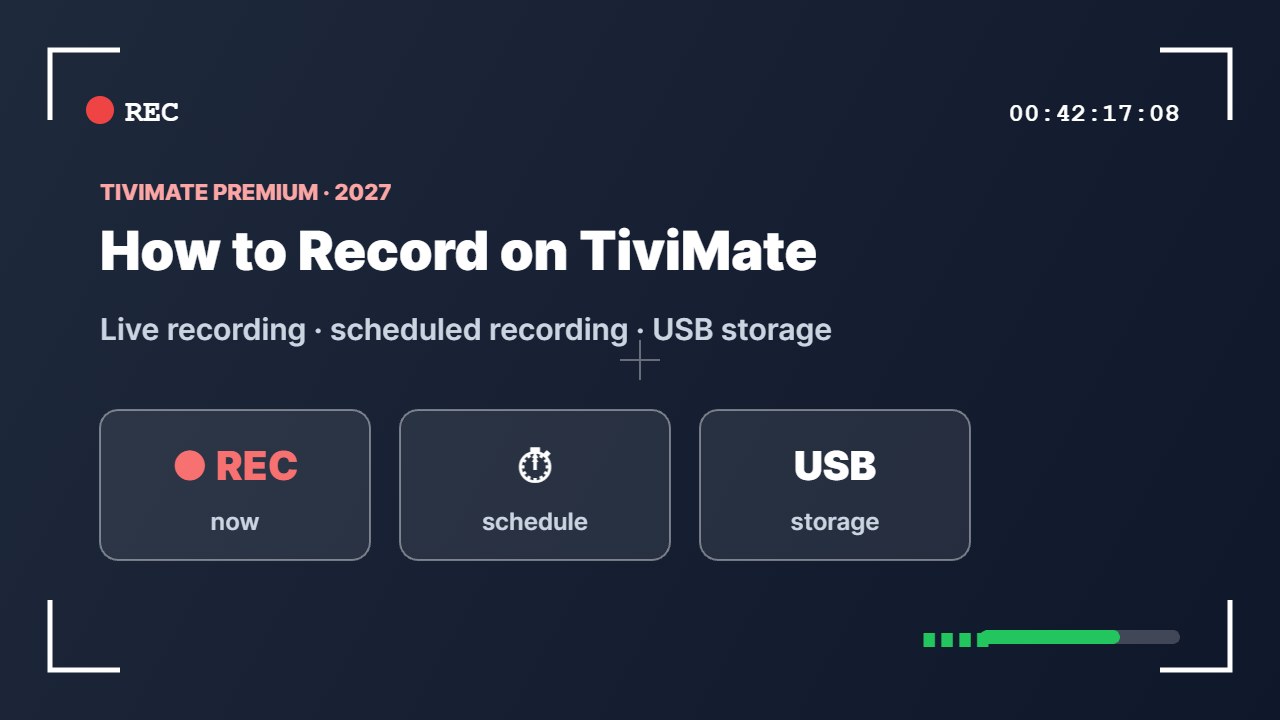
Want to record on TiviMate like a real DVR? With TiviMate Premium you can record the channel you are watching or schedule recordings straight from the TV guide. This guide shows how to set up storage, record live TV, schedule shows and fix recordings that fail.
What you need to record on TiviMate
- TiviMate Premium — recording is not available in the free version.
- An Android TV device, Google TV or Firestick.
- Storage: a USB drive or external hard drive is best, because Firesticks have very little internal space.
- A stream your provider allows you to record — some protected streams cannot be recorded.
Record only for your own personal viewing and follow your provider’s terms and local laws.
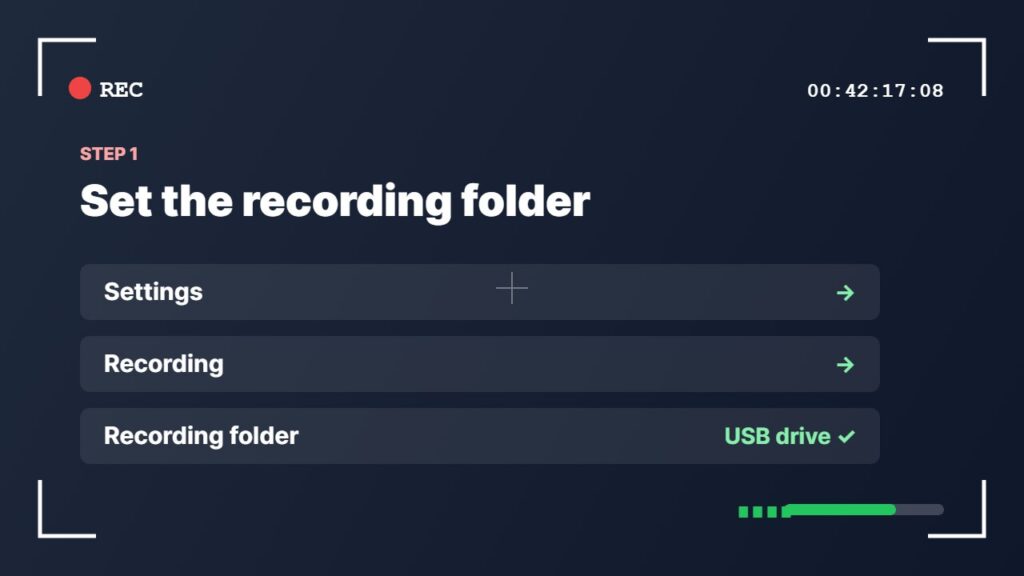
Step 1: Set the recording folder
- Connect a USB drive (Firestick users need a USB OTG adapter or hub).
- Open TiviMate → Settings → Recording.
- Choose Recording folder and select your USB drive.
- Allow storage access if Android asks for permission.
Low on space? Read Firestick storage full: 7 fixes first.
Step 2: Record what you are watching
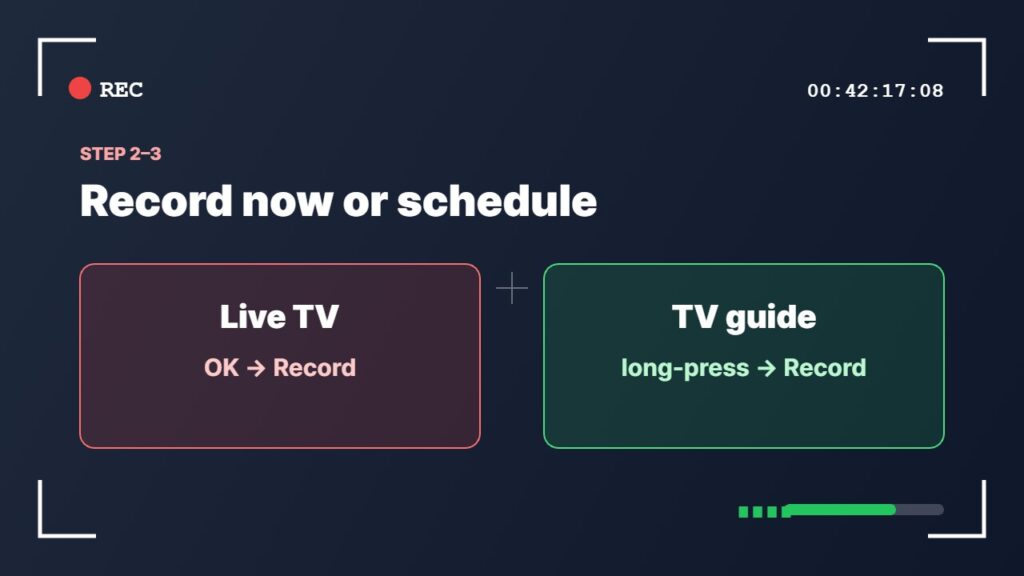
While a channel is playing, open the playback menu (press OK) and select Record. Choose how long to record or until the programme ends. A red dot shows that recording is active.
Step 3: Schedule a recording from the TV guide
- Open the TV guide.
- Move to a future programme.
- Press and hold OK (long-press) and choose Record.
- Scheduled recordings appear in Recordings → Scheduled.
The guide must be correct for scheduled recordings to start on time — see what is EPG and keep your box time zone correct.
Where to find your recordings
Open TiviMate’s main menu and choose Recordings. Files are saved as .ts video, so you can also play them in VLC on a computer.
Recording vs catch-up
| Recording | Catch-up | |
|---|---|---|
| Needs storage | Yes | No |
| Needs TiviMate Premium | Yes | Usually yes in TiviMate |
| Keep shows for long | Yes, until you delete | Only 1–7 days |
| Depends on provider | Stream must be recordable | Provider must offer archive |
If your provider has an archive, IPTV catch-up is often easier than recording.
TiviMate recording not working? Fixes
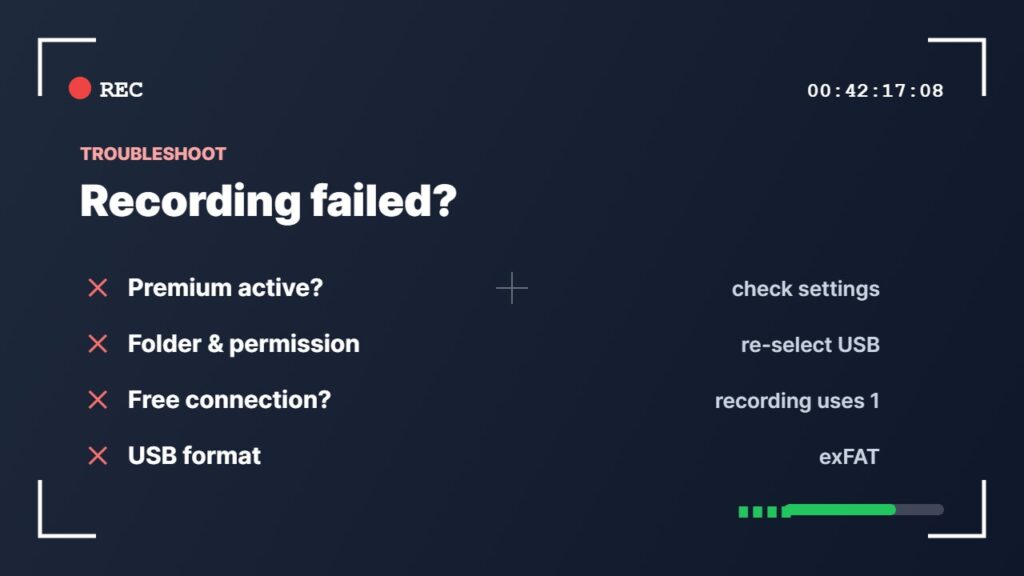
- Check Premium is active in TiviMate settings.
- Re-select the recording folder and allow storage permission.
- Format the USB drive on a computer (exFAT works well) and try again.
- Make sure your plan has a free connection — recording uses one. See IPTV on multiple devices.
- Other TiviMate errors? Read TiviMate not working.
How much storage do TiviMate recordings need?
As a rough guide, one hour of HD recording uses about 2–3 GB, and 4K uses much more. A 64 GB USB drive holds around 20–30 hours of HD. Delete old recordings regularly. TiviMate works like a classic digital video recorder (DVR), so plan your storage the same way.
Keep your recordings schedule and settings safe with a TiviMate backup.
Need another language? See IPTV audio and subtitles.
Frequently asked questions
Can you record on TiviMate for free?
No. Recording is a TiviMate Premium feature. The free version can only watch live TV.
How do I schedule a recording on TiviMate?
Open the TV guide, highlight a future programme, long-press OK and choose Record. It appears under Recordings → Scheduled.
Where does TiviMate save recordings?
In the recording folder you set in Settings → Recording. A USB drive is recommended.
Can I record on a Firestick with TiviMate?
Yes, with TiviMate Premium and a USB drive connected through an OTG adapter, because internal storage is very small.
Does recording use an IPTV connection?
Yes. While recording, TiviMate uses one connection, so watching another channel needs a plan with 2 or more connections.
Final thoughts
To record on TiviMate you need Premium, a USB drive and a correct TV guide. Set the recording folder, press Record on live TV or long-press a show in the guide to schedule it. New to the app? Start with our TiviMate setup guide.